Anytone AT-588UV, All feeders, microphones, wires, and panel brackets are ready for loading onto the vehicle.
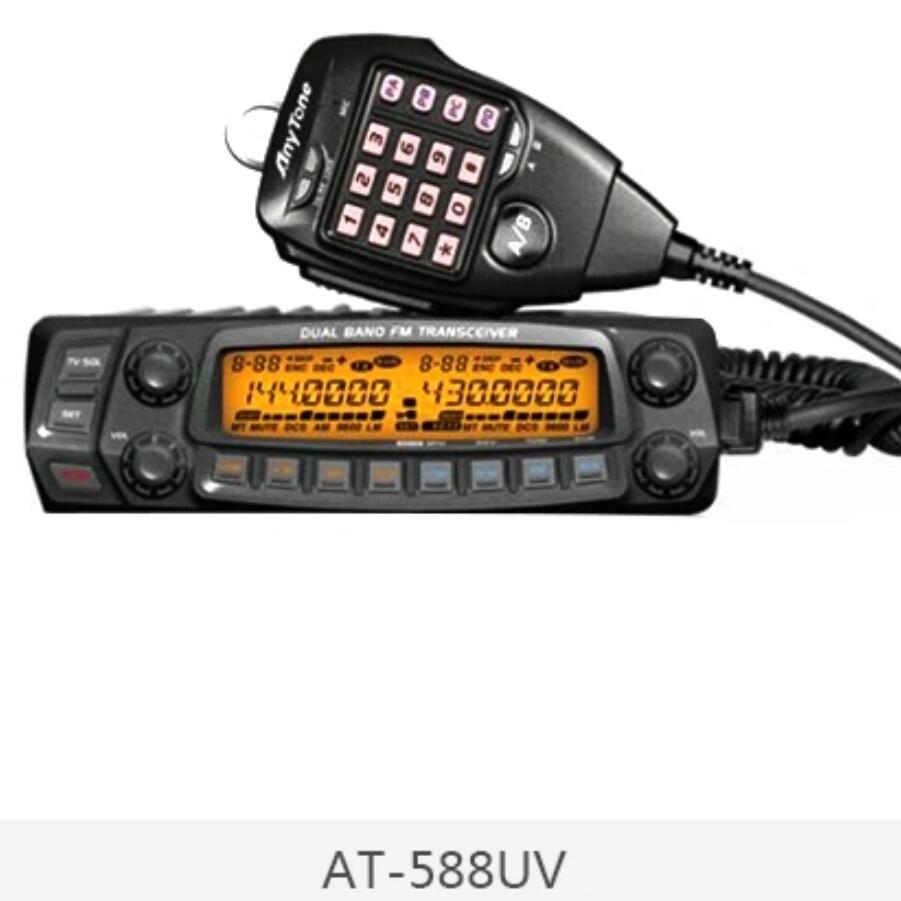
The body of the Anytone AT-588UV is installed on a steel plate under the driver’s seat, in the same position as most people. Before installation, use sandpaper to polish off the rust on the surface of the steel plate, and apply strong double-sided tape (also known as nano double-sided tape) to the back of the car body.
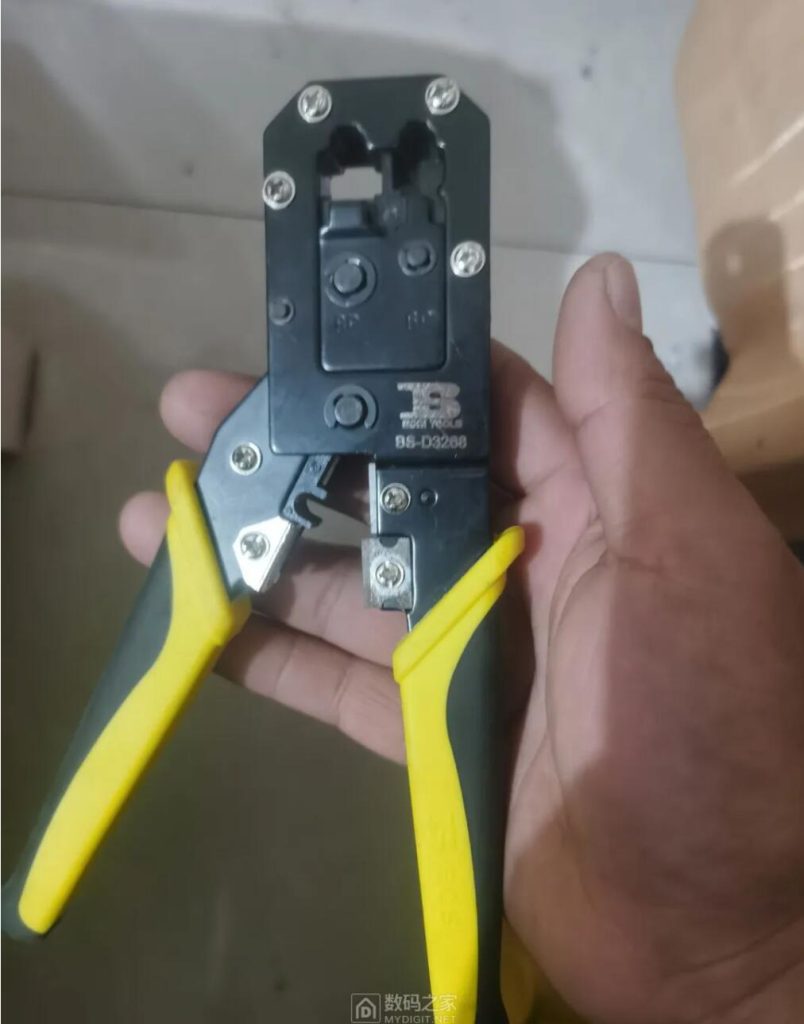
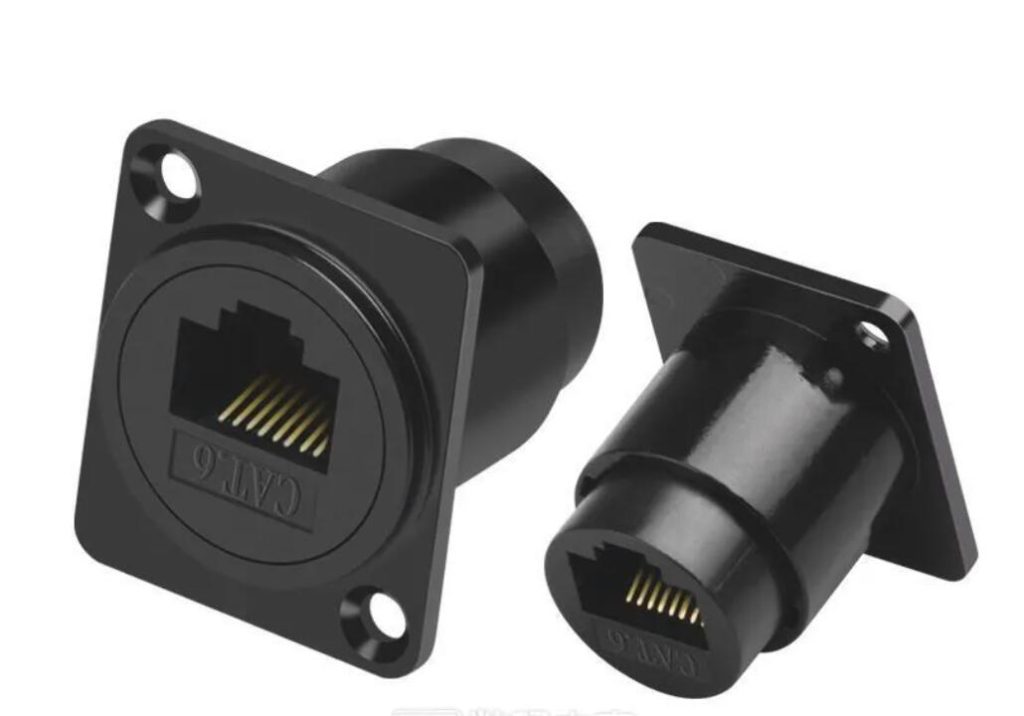
The next step is to install the separation line from the car body to the panel. If there are idle network cables and tools at home, there is no need to buy a finished panel separation line. Moreover, there is an advantage to making it yourself, which is to cut as much as needed and reserve some redundancy.
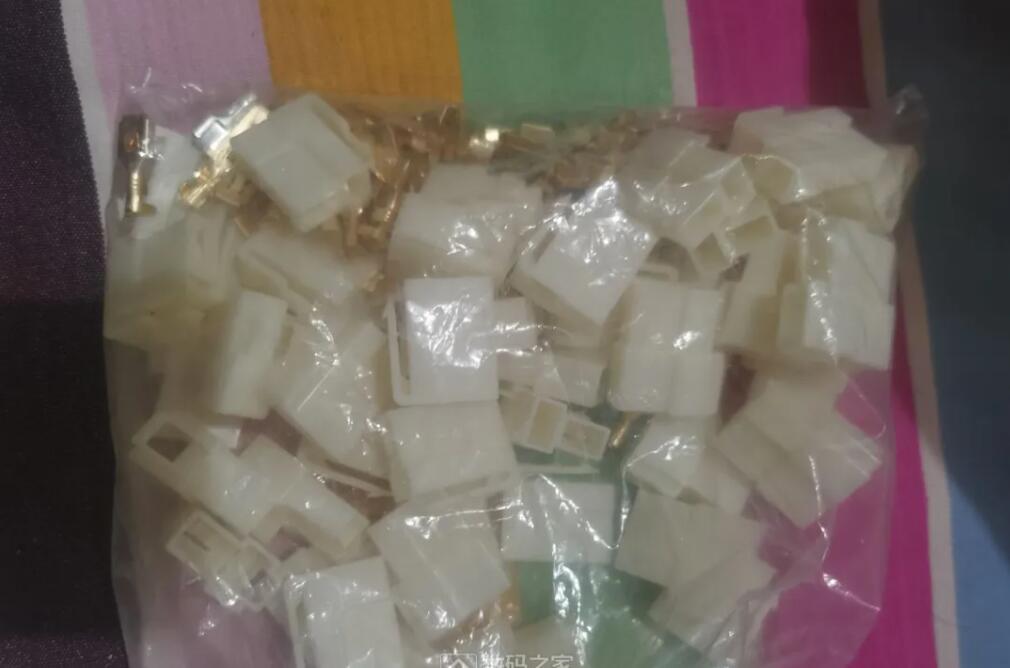
Once the wiring is done, it’s time to dismantle the car. If you want to install it , it’s best to prepare some clips from the car to prevent them from being damaged after dismantling. Just buy a set of clips for the corresponding car model, which come with various types of clips
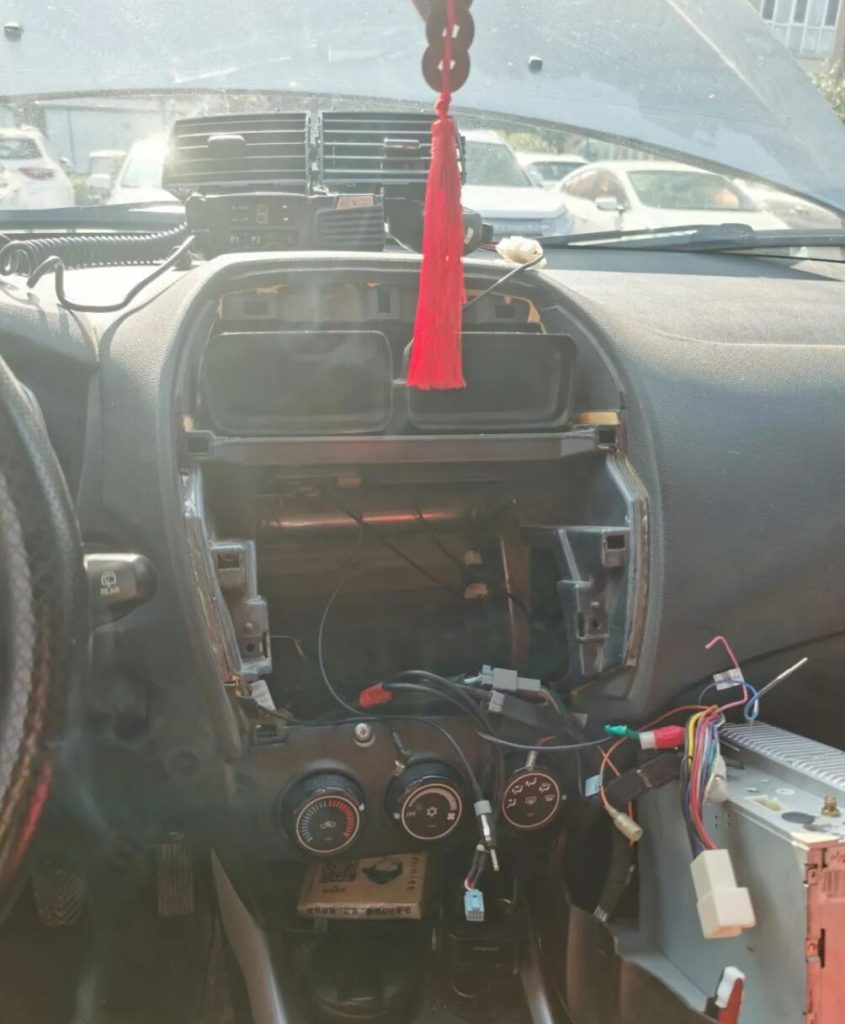
The panel separation line passes through the buckle plate on the lower left side of the cab from the base of the B-pillar, and then goes up to the A-pillar through the buckle plate on the left side of the cab. At the beginning, the dashboard panel was glued to the upper left corner of the front windshield, and redundant extension cords and microphone extension cords were hidden inside the fiberboard on the roof. However, after being installed and tested on the road, it was found that the panel installed in the upper left corner of the front windshield may cover the driver’s face on the road, which may result in wearing a hat that affects driving and cause violations. On the other hand, it is not very convenient to view panel information or operate the panel.
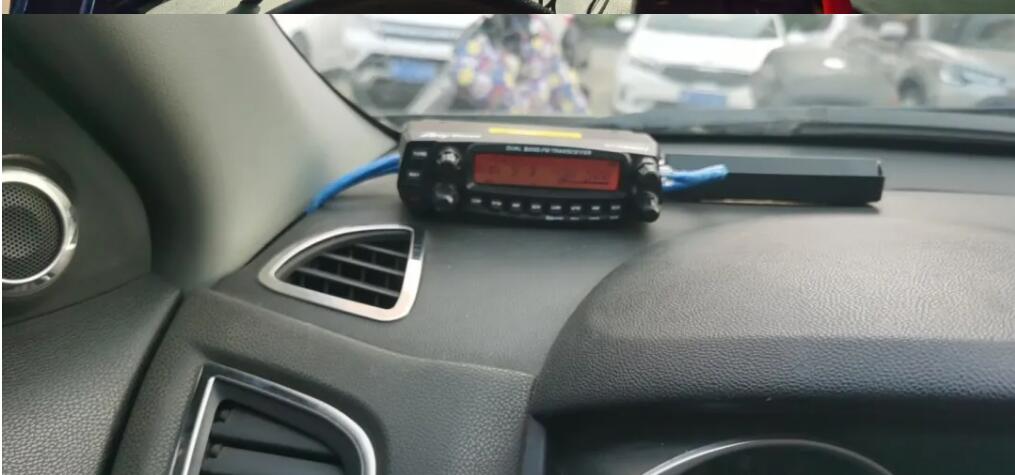
Later on, a new adjustment was made, and the panel was glued to the left front of the driver’s cab with nano double-sided tape. The panel separation line and the microphone separation line could be connected to the panel from under the A-pillar. However, due to the use of a round diameter for the network cable, there was a small gap at the connection between the A-pillar and the driver’s cab, which was not perfect.
Next, let’s talk about the hand microphone separation line.

Used to having a hand microphone in right hand, but the dashboard panel is installed on my left hand, which is why there is a hand microphone separation line. The original car did not have a starting function, but a space was reserved and covered with a cover plate. After measuring the cover plate with a ruler, it was found that a network cable adapter could be installed. Connecting a network cable from the car console’s hand microphone socket would be a hand microphone extension cable, which is perfect and does not affect the use of right-handed hand microphones.
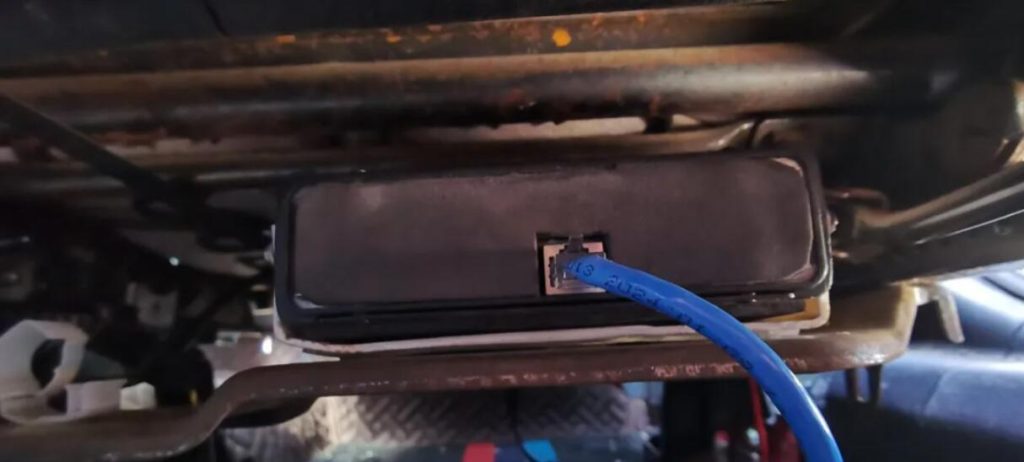
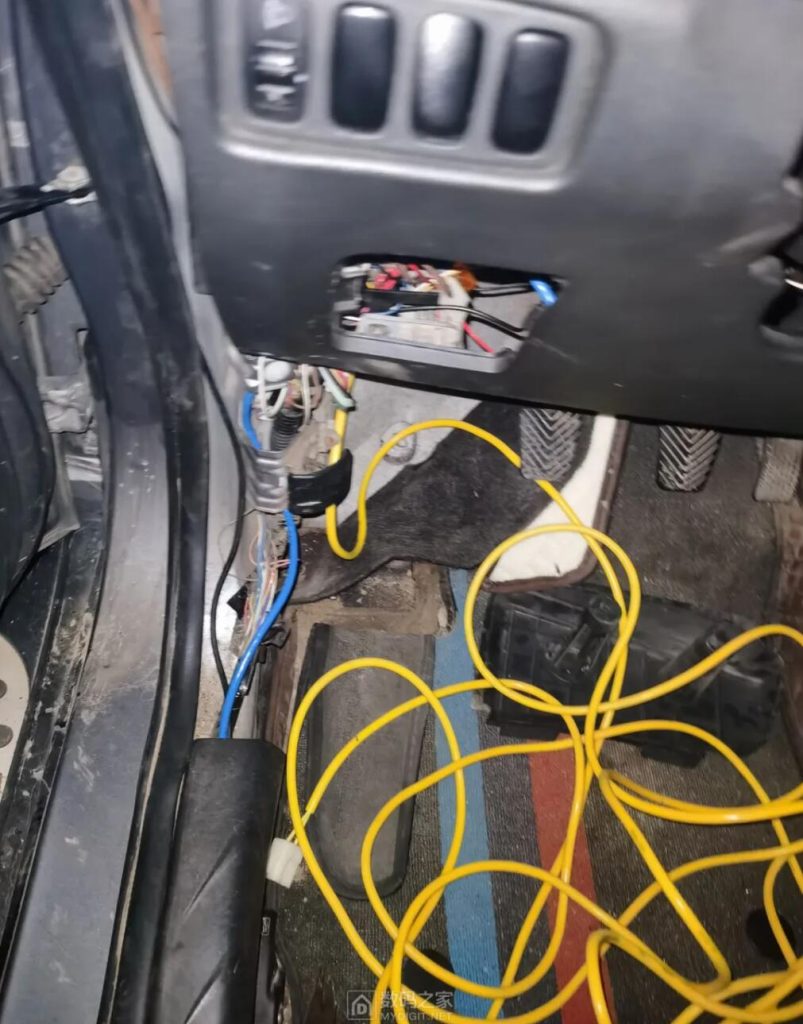
All of the above are actually relatively simple, the most difficult one is actually connecting the power cord. Since I am using the car starter battery for direct power supply, I need to guide the wires from the engine compartment into the driver’s cabin. But after searching the engine compartment, there was only one bus harness, and it was located in the middle of the driver and passenger seats.
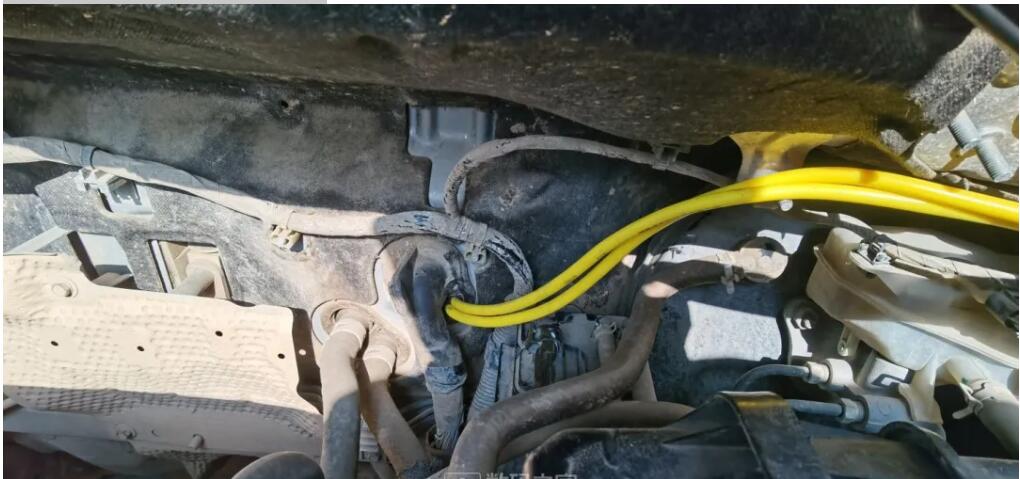
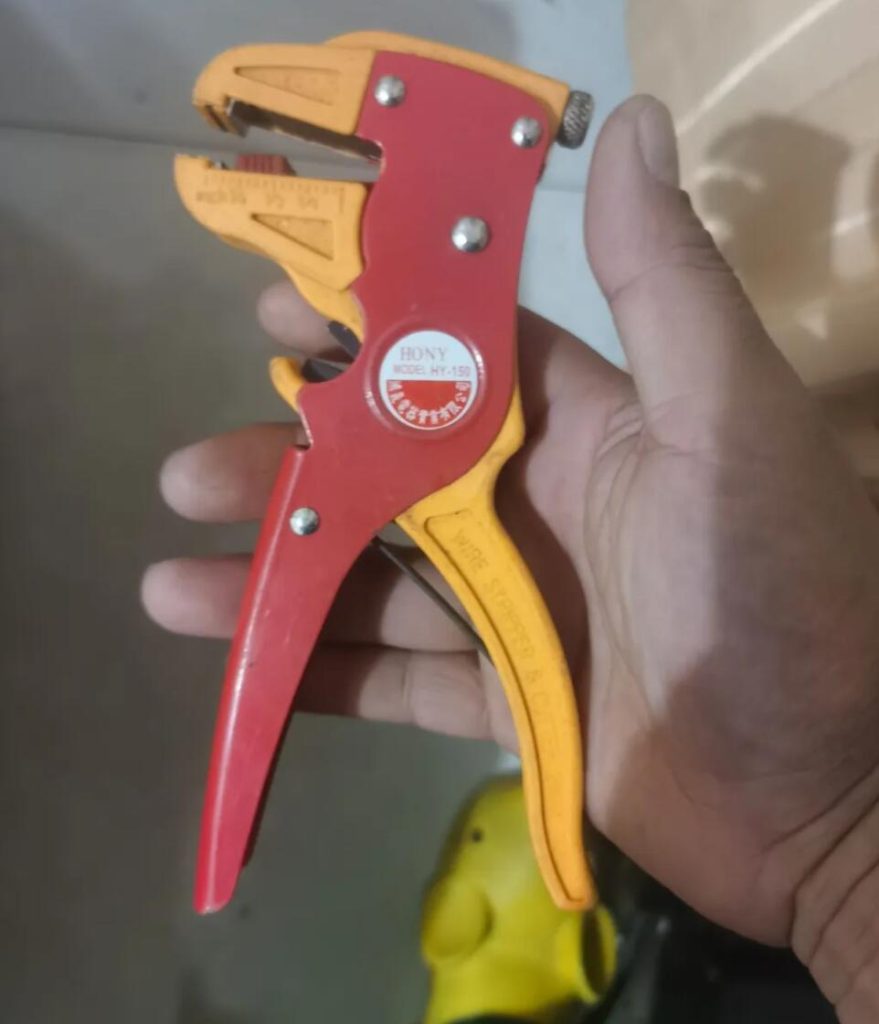
There was really no other choice but to grit my teeth and try to find a solution from the bus harness. Fortunately, I reached for the bus harness from the driver’s cab and found that there was still a lot of space inside the rubber tube. That’s why I had the courage to use a small Phillips screwdriver to poke a hole in the rubber tube of the bus harness from the engine direction towards the driver’s cab direction. To reduce trouble in the later stage, I used a 1.5 square meter dual core silicone wire and treated the dual core as a single core.
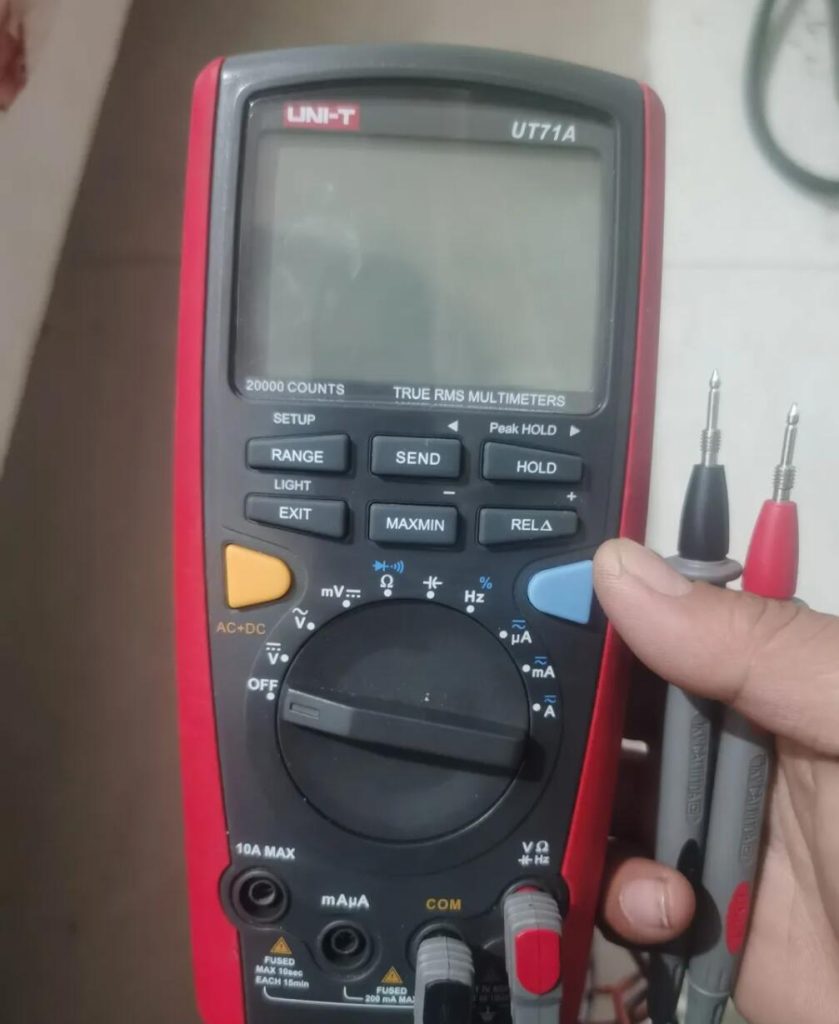
The space for the bus harness in the driver’s cabin is very narrow, and all kinds of metal parts of the vehicle are exposed with handles and arms hanging out. Despite the effort, the person with the heart finally introduced the power supply into the driver’s cabin. The power cord still passes through the buckle plate on the lower left side of the driver’s cabin to the bottom of the B-pillar, and can be connected using a plug-in terminal. Before connecting the power cord to the car radio, try to use a multimeter to measure whether the positive and negative terminals of the power cord are consistent to avoid damaging the equipment.
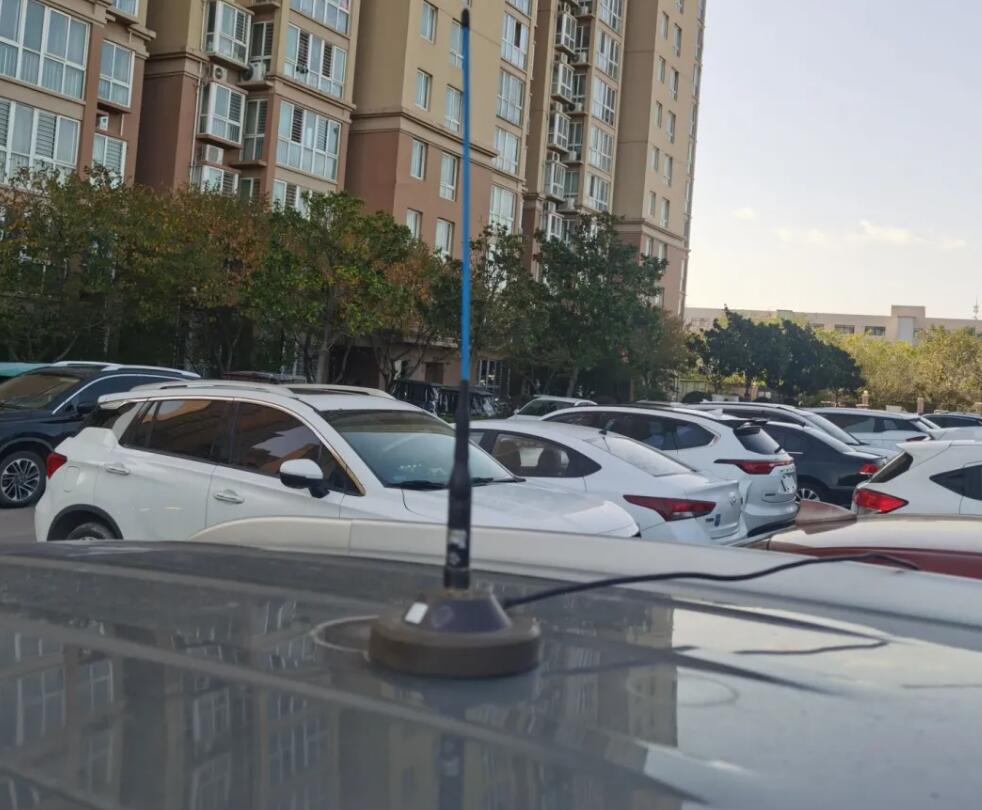
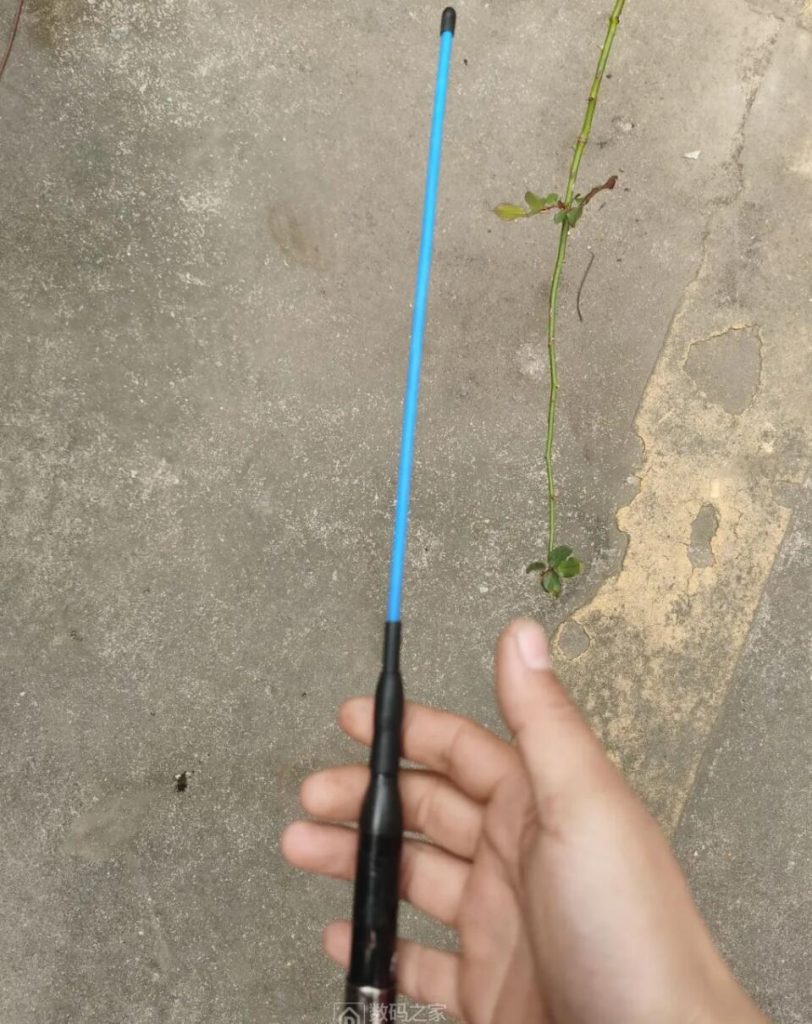
After the power supply of the car radio is solved, only the antenna feeder system remains. As I am using a suction cup antenna, I enter the car from the B-pillar through the rubber strip of the door and reach the bottom of the B-pillar. The advantage of doing this is that it can shorten the length of the feeder as much as possible, and avoid drilling or vehicle breakage as much as possible. The disadvantage is that some of the feeder lines may be exposed and the rubber strip of the car door may protrude.